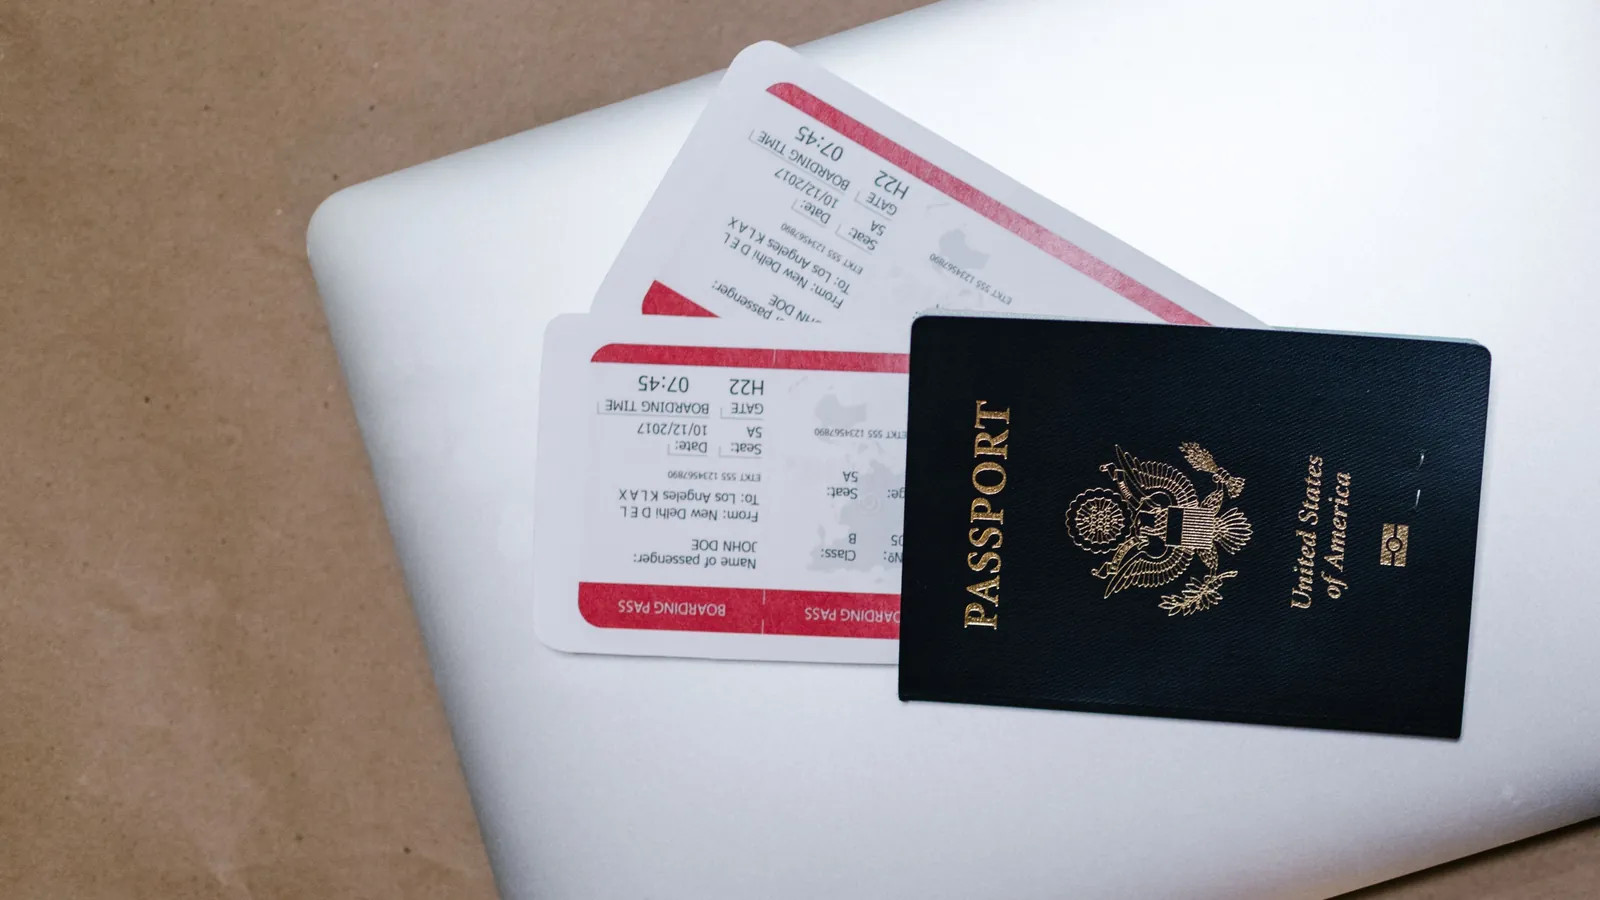
Category: Smart Life

  • The single-note travel system that keeps every booking in one place

    The single-note travel system that keeps every booking in one place

    The worst time to search through 37 emails is when the airport Wi-Fi is failing, a driver is waiting and you cannot remember whether your hotel booking was made through the hotel, an agency or a forwarded message from another traveler.

    The information exists.

    It is simply scattered across:

    • confirmation emails
    • airline applications
    • screenshots
    • messaging conversations
    • calendar events
    • PDFs
    • booking platforms

    The single-note travel system replaces that fragmentation with one master note containing the information you will actually need during the trip.

    It is not a replacement for airline apps, digital wallets or original booking emails. It is a fast-access dashboard that tells you where you need to be, when you need to be there and where the original confirmation can be found.

    The system works in Apple Notes, Google Keep, Microsoft OneNote or almost any notes app that supports links and offline access. Apple Notes can pin notes, create checklists, add attachments and scan documents. Google Keep can pin important notes and make them available through its mobile apps while offline. Microsoft OneNote is designed as a searchable digital notebook available across computers and mobile devices.

    The important part is not the application.

    It is the structure.

    Why email should not be your travel dashboard

    Email is useful for receiving confirmations, but it is inefficient during a journey.

    A hotel address may be buried below promotional text. A flight-change message may sit beside the original itinerary. A booking reference may appear in an attachment rather than the email body. Searching can also become difficult when roaming data, airport Wi-Fi or account authentication is unreliable.

    A travel note solves a different problem.

    Instead of storing every possible piece of information, it extracts the small number of details required to take the next action.

    For a flight, that means:

    Airport
    Terminal
    Flight number
    Departure time
    Booking reference
    Baggage allowance
    Link to manage booking

    For accommodation:

    Property name
    Full address
    Check-in time
    Booking reference
    Telephone number
    Map link
    Payment status

    You retain the original emails and apps, but the master note becomes the first place you look.

    Start with a five-second emergency block

    The top of the note should contain information that can be understood immediately.

    Do not begin with a long introduction or decorative itinerary.

    Use a compact block:

    ROME — 1 TO 6 AUGUST 2026
    
    Hotel:
    Hotel Example, Via Example 20
    
    Check-in:
    3:00 p.m.
    
    Main flight:
    W6 0000 — SKP to FCO
    1 August, 08:10
    
    Travel partner:
    Name — telephone number
    
    Travel insurance:
    Provider — policy reference
    
    Emergency card number:
    Number printed on the back of the card

    This section should answer the most urgent questions without scrolling.

    It is particularly useful when you need to show an address to a driver, confirm the property name at immigration or give a companion the flight number.

    Do not place passwords, card PINs or authentication codes inside the note.

    Organize the trip in chronological order

    The rest of the note should follow the sequence in which the journey will happen.

    A practical structure is:

    1. Before leaving home
    2. Outbound flight
    3. Airport transfer
    4. Accommodation
    5. Daily bookings
    6. Return journey
    7. Emergency information

    Chronological order is more useful than organizing information by company.

    At 6:00 a.m. on departure day, you do not want to remember whether the transfer was booked through the hotel, an agency or a taxi application. You want the next section of the note to tell you:

    Driver pickup: 05:45
    Location: Main entrance
    Driver number: +...
    Reservation: ABC123
    Payment: Paid

    The master note should behave like a sequence of decisions, not like an archive.

    Use direct links, not only booking references

    A booking number is useful only when you also know where to enter it.

    For every major reservation, include both:

    Booking reference: ABC123
    Manage booking: direct link

    Useful links include:

    • airline manage-booking page
    • accommodation map location
    • online check-in page
    • train or bus ticket
    • restaurant reservation
    • car-rental pickup instructions
    • travel-insurance claim page

    Avoid copying temporary links that expire after one login session.

    Test the important links before departure. Open them from the note and confirm that they lead to the expected page rather than a generic homepage.

    For airline and hotel reservations, retain the original confirmation email as the authoritative record. The note is the shortcut, not the legal or commercial record.

    Add payment status beside every reservation

    One of the most common sources of travel confusion is not whether a booking exists, but whether it has been paid.

    Use one of four labels:

    PAID
    PAY AT PROPERTY
    DEPOSIT PAID
    PAYMENT PENDING

    For example:

    HOTEL
    
    Total price: €620
    Deposit paid: €120
    Remaining at property: €500
    City tax: Not included
    Payment method: Card at check-in

    This prevents two mistakes:

    • assuming that an online reservation was already charged;
    • paying twice because a companion does not know who completed the original transaction.

    For group trips, add the name of the person who paid:

    Paid by: Alex
    Split required: €155 per person

    Do not store full payment-card details inside the shared note.

    Create a “today” section during the trip

    A complete itinerary can still be too long when you need information quickly.

    Each evening, move the next day’s essentials near the top:

    TOMORROW — 3 AUGUST
    
    08:15 — Leave hotel
    09:00 — Vatican Museums
    Booking: VM123
    Entrance: Viale Vaticano
    Map: [link]
    
    13:30 — Lunch reservation
    Restaurant: Example
    Name used: Branko
    
    18:10 — Train to Florence
    Train: FR 0000
    Platform: Check station board
    Ticket: [link]

    This turns the master note into a daily operating plan.

    When the day is finished, move that section below the current day or mark it completed. Do not delete it immediately because it may contain references needed for a refund, complaint or expense record.

    Make the note available offline

    A travel system that only works with a strong internet connection is incomplete.

    Before leaving:

    1. Open the full note on the phone you will carry.
    2. Open important attachments at least once.
    3. Activate airplane mode.
    4. Confirm that the note and essential information remain available.
    5. Restore connectivity and check that recent changes have synchronized.

    Google states that offline access to Keep notes is available through its mobile apps, while OneNote maintains locally cached notebook content depending on what has been opened or downloaded. Exact offline behavior varies by app and device, so it should be tested rather than assumed.

    Also store critical tickets in their intended offline location:

    • airline boarding pass in the airline app or wallet
    • rail ticket downloaded as PDF
    • accommodation address in offline maps
    • emergency telephone numbers in contacts

    The note should point to those items, but it should not be the only copy.

    Use attachments carefully

    A note can hold PDFs, photographs, scans and screenshots. Apple Notes, for example, can scan documents into a note as PDFs and can search typed text, scanned text and some content found inside images.

    That does not mean every travel document belongs in one large shared note.

    Reasonable attachments include:

    • transport tickets
    • attraction vouchers
    • simple booking confirmations
    • car-rental instructions
    • non-sensitive receipts

    Treat these more carefully:

    • passport scans
    • national identity cards
    • visa documents
    • insurance medical information
    • payment-card details

    When sensitive copies are necessary, store them in a protected location with appropriate device and account security. Apple Notes allows specific notes to be locked, but shared iCloud notes cannot be locked in the same way.

    A safer division is:

    Shared travel note:
    Itinerary, bookings, addresses, links and costs
    
    Private protected storage:
    Identity documents and sensitive personal information

    Share one source of truth

    For a group trip, do not create several separate versions of the itinerary.

    Share one master note and agree that it is the current version.

    Google Keep allows collaborators to edit shared notes, while OneNote supports shared notebooks that can be accessed across devices.

    Use simple ownership:

    Flights — Branko
    Accommodation — Ana
    Activities — Mark
    Transport — Elena

    When a booking changes, the responsible person updates the master note immediately.

    Avoid sending corrected details only through a chat message. The message may be missed, while the old time remains visible in the travel note.

    A useful change format is:

    UPDATED 31 JULY
    
    Old departure: 14:20
    New departure: 16:05
    Source: Airline email
    Updated by: Branko

    Delete the old operational information only after all travelers have received the change.

    Apply the two-minute booking rule

    Every time you book or modify something, spend two additional minutes updating the note.

    Record:

    What was booked?
    When does it happen?
    Where does it happen?
    What is the booking reference?
    Has it been paid?
    What is the direct access link?
    Is any action still required?

    This is easier than rebuilding the entire itinerary two days before departure.

    The system fails when updating the note becomes a separate large project. It works when the update is treated as the final step of every reservation.

    The booking is not complete until the master note reflects it.

    The copy-and-paste Fintayo template

    TRIP: [DESTINATION]
    DATES: [START–END]
    TIME ZONE: [LOCAL TIME ZONE]
    
    ================================
    QUICK ACCESS
    ================================
    
    Accommodation:
    [Name]
    [Full address]
    [Map link]
    [Telephone]
    
    Main flight:
    [Flight number]
    [Date and time]
    [Airport and terminal]
    
    Travel partner:
    [Name and telephone]
    
    Insurance:
    [Provider and policy reference]
    
    ================================
    BEFORE DEPARTURE
    ================================
    
    [ ] Online check-in
    [ ] Download boarding passes
    [ ] Activate eSIM/roaming plan
    [ ] Download offline maps
    [ ] Confirm airport transfer
    [ ] Check passport/visa requirements
    [ ] Check luggage limits
    
    ================================
    OUTBOUND JOURNEY
    ================================
    
    Flight:
    Airline:
    Flight number:
    Date:
    Departure:
    Arrival:
    Terminal:
    Booking reference:
    Baggage:
    Seat:
    Payment status:
    Manage booking:
    Notes:
    
    ================================
    AIRPORT TRANSFER
    ================================
    
    Provider:
    Pickup time:
    Pickup location:
    Driver contact:
    Booking reference:
    Payment status:
    Link:
    
    ================================
    ACCOMMODATION
    ================================
    
    Property:
    Address:
    Map:
    Check-in:
    Check-out:
    Booking reference:
    Telephone:
    Total price:
    Amount paid:
    Amount remaining:
    City tax:
    Cancellation deadline:
    Booking link:
    
    ================================
    DAILY BOOKINGS
    ================================
    
    DATE:
    
    Time:
    Activity:
    Location:
    Booking reference:
    Payment status:
    Ticket/link:
    Notes:
    
    ================================
    RETURN JOURNEY
    ================================
    
    Flight/train:
    Date:
    Departure time:
    Departure location:
    Booking reference:
    Check-in link:
    Transfer to airport/station:
    
    ================================
    EMERGENCY INFORMATION
    ================================
    
    Local emergency number:
    Travel insurer:
    Card issuer emergency number:
    Accommodation telephone:
    Embassy/consulate:
    Emergency contact at home:
    
    ================================
    EXPENSES TO SPLIT
    ================================
    
    Item:
    Paid by:
    Amount:
    Split between:
    Status:

    Remove every section that does not apply. A shorter usable note is better than a comprehensive note that nobody opens.

    What should remain outside the note

    The system is not intended to become a digital suitcase containing everything.

    Keep these in their proper tools:

    InformationBetter location
    PasswordsPassword manager
    Card PINsNever store in the travel note
    Authentication backup codesProtected account storage
    Full passport copySecure private storage
    Boarding passAirline app or digital wallet
    Offline navigationMap application
    Original confirmationEmail or booking provider
    Medical recordsAppropriate secure storage

    The note should help you find and understand information.

    It should not weaken the security of that information.

    The Fintayo takeaway

    Travel problems become harder when the answer is split across five applications and three inboxes.

    The single-note system creates one clear starting point:

    One trip. One master note. One current version.

    Put immediate information at the top, organize the rest chronologically, add direct links, mark payment status and test everything offline.

    The system will not prevent a flight delay or a hotel from losing a reservation.

    But it will prevent you from standing at the counter searching for information you already have.
  • Turn off these phone settings before traveling abroad

    Turn off these phone settings before traveling abroad

    Your phone does not need to be in your hand to use mobile data.

    While it sits in your pocket, it can refresh apps, upload photographs, download updates, retrieve emails and switch from weak hotel Wi-Fi to a cellular network.

    At home, that background activity may be harmless. Abroad, particularly without an inclusive roaming package, the same activity can become expensive.

    The obvious solution appears to be switching off data roaming. But modern travel setups are more complicated. A traveler using a local SIM or travel eSIM may need roaming enabled for the new line while keeping it disabled for the home line.

    The safest strategy is not to switch off everything.

    It is to decide which SIM is allowed to use data, reduce background consumption and remove the settings that can silently override your choice.

    First, find out what your mobile plan actually covers

    Before changing the phone, check your carrier’s roaming tariff.

    Confirm:

    • which countries are included
    • how much high-speed data is available
    • whether calls and SMS are covered
    • whether a daily roaming pass activates automatically
    • what happens after the allowance is exhausted
    • whether tethering or hotspot use is permitted
    • whether incoming calls are charged
    • whether cruise ships and aircraft networks are excluded

    Do not assume that traveling within Europe automatically means free roaming.

    The European Union’s “Roam Like at Home” framework lets customers with qualifying EU and European Economic Area mobile subscriptions use domestic allowances while temporarily traveling in participating countries, subject to fair-use conditions. Since January 1, 2026, the arrangement has also extended to Ukraine and Moldova. That does not mean every SIM issued elsewhere, including by a non-EU operator, receives the same treatment.

    Your phone settings cannot protect you from a tariff you have not understood.

    1. Turn off data roaming on the SIM you do not intend to use

    Data roaming allows a SIM to connect to cellular data when it is outside its home carrier’s network.

    On an iPhone, Apple places the setting under:

    Settings → Cellular/Mobile Data → select the SIM → Data Roaming

    On a Pixel and many other Android phones, the route is generally:

    Settings → Network & internet → SIMs → select the SIM → Roaming

    Menu names vary between Android manufacturers and software versions. Apple advises travelers without an applicable roaming arrangement to turn off Data Roaming to help prevent roaming charges.

    For a traveler using only the home SIM, the decision is relatively simple:

    • turn roaming on when the carrier confirms that the destination and usage are covered
    • leave it off when there is no suitable roaming package

    With dual SIM or eSIM, each line must be checked separately.

    2. Select the correct SIM for mobile data

    Suppose your phone contains:

    • your normal home SIM for calls and verification messages, and
    • a travel eSIM for mobile internet

    Installing the travel eSIM is not enough. You must also select it as the line used for cellular data.

    On iPhone:

    Settings → Cellular/Mobile Data → Cellular Data → select travel eSIM

    On Android:

    Settings → Network & internet → SIMs → Mobile data → select travel eSIM

    The precise Android path varies by manufacturer.

    Then review the roaming setting for each line:

    SIMMobile dataData roaming
    Home SIMOffOff unless covered
    Travel eSIMOnAccording to eSIM provider’s instructions

    The final column is important. Many international eSIMs connect through partner networks and require data roaming to be enabled on the travel line. Turning roaming off globally can therefore prevent the eSIM from working.

    The correct rule is not “roaming must always be off.”

    It is:

    Roaming should be enabled only on the line and plan that you have deliberately chosen.

    3. Turn off automatic cellular-data switching

    Dual-SIM phones can include a setting that allows the device to switch mobile-data lines when the preferred line has poor service.

    That can be convenient at home. Abroad, it can undermine the entire travel setup.

    On iPhone, review:

    Settings → Cellular/Mobile Data → Cellular Data

    Then disable:

    Allow Cellular Data Switching

    The wording and availability depend on the phone, carrier and SIM configuration.

    On Android, look for settings such as:

    Switch mobile data automatically
    Automatic data switching
    Use data during calls
    Backup calling

    Manufacturer wording varies.

    The risk is simple: your travel eSIM loses signal, and the phone quietly moves data traffic to the home SIM. If that home SIM does not have an appropriate roaming package, the fallback can trigger unwanted charges.

    After setup, open the mobile-data page again and verify that the travel line is visibly selected.

    4. Enable Low Data Mode or Data Saver

    The most useful travel setting may not be a complete cellular shutdown. It may be a system-wide instruction to reduce background use.

    On iPhone:

    Settings → Cellular → select line → Data Mode → Low Data Mode

    Depending on the network type and iPhone configuration, the menu can appear slightly differently.

    Apple states that Low Data Mode restricts background network use. It can pause automatic updates and background tasks while reducing the frequency of some app activity.

    On Pixel and many Android phones:

    Settings → Network & internet → Data Saver

    Google explains that Data Saver reduces mobile-data use by limiting how most apps send or receive background data. Apps currently being used can continue accessing data, while selected apps may be granted unrestricted access.

    This gives you a better balance:

    • maps and messaging can continue working
    • nonessential background activity is reduced
    • you do not need to disable every app individually

    Before departure, review any apps marked as exempt from Data Saver. A photo app, social network or cloud-storage service with unrestricted access can still consume substantial data.

    5. Turn off automatic app updates over mobile data

    An app update can range from a few megabytes to well over a gigabyte. Several updates beginning after you leave hotel Wi-Fi can consume a limited travel plan surprisingly quickly.

    On iPhone, downloaded apps are automatically updated by default. Apple lets users disable automatic app updates through:

    Settings → Apps → App Store → App Updates

    You can also review whether the App Store is permitted to use cellular data.

    On Android, open:

    Google Play Store → profile picture → Settings
    → Network preferences → Auto-update apps

    Select:

    Over Wi-Fi only

    or temporarily choose not to auto-update. Google documents these network preferences within the Play Store’s app-update settings.

    Update essential travel apps before leaving:

    • airline app
    • maps
    • messaging
    • banking and authentication apps
    • travel eSIM app
    • accommodation and transport apps

    Then restrict automatic updates during the journey.

    Do not begin a major operating-system update immediately before boarding. Complete important security updates at home, with stable Wi-Fi, power and enough time to resolve any problem.

    6. Stop photo and video backups from using roaming data

    Modern phone cameras generate large files. A short high-resolution video can consume more data than hours of text messaging.

    Apple’s iCloud Photos can automatically upload photographs and videos so they remain synchronized across devices. iPhone also offers a separate option for some models and carriers to perform device backups over cellular data.

    Before traveling, review:

    Settings → [your name] → iCloud → Photos

    and:

    Settings → [your name] → iCloud → iCloud Backup

    You do not necessarily need to disable iCloud Photos completely. Low Data Mode can reduce background activity, and cellular access can be restricted for selected services. Apple recommends power and Wi-Fi when resolving or completing large iCloud Photos synchronization tasks.

    In Google Photos, open:

    Google Photos → profile picture → Photos settings
    → Backup → Mobile data usage

    Review whether photos or videos may be backed up using mobile data. Google confirms that Photos can automatically save media to the user’s account when backup is enabled and provides mobile-data controls within the backup workflow.

    A practical travel setup is:

    • photographs: back up on trusted Wi-Fi
    • videos: Wi-Fi only
    • roaming backup: off
    • manual emergency backup: available when genuinely needed

    There is a trade-off. Disabling cloud backup reduces data use, but a lost or stolen phone could also mean losing photographs that were never uploaded. Connect to trusted Wi-Fi periodically and allow the backup to complete.

    7. Restrict Background App Refresh

    Apps can retrieve new content even when they are not visibly open.

    On iPhone:

    Settings → General → Background App Refresh

    You can:

    • disable it completely
    • permit it over Wi-Fi only
    • control it app by app

    Apple documents the choice between Wi-Fi-only and Wi-Fi plus cellular background refreshing.

    A measured approach is better than disabling every service. Keep background access for apps that genuinely need timely updates, such as secure messaging or transportation, and restrict:

    • social-media apps
    • news apps
    • shopping platforms
    • games
    • cloud-storage tools
    • apps you will not use during the trip

    Android handles background access through Data Saver and individual app-data controls. The path differs across manufacturers, but it is generally available under:

    Settings → Apps → select app → Mobile data/Data usage

    Look for permissions such as:

    Background data
    Unrestricted data usage
    Allow data while Data Saver is on

    The objective is not to stop the phone from functioning. It is to prevent low-priority apps from consuming the travel allowance without your knowledge.

    8. Turn off Wi-Fi Assist or automatic mobile fallback

    Weak Wi-Fi is not always disconnected Wi-Fi.

    Your phone may remain connected to a hotel, airport or café network while deciding that the signal is too poor. It can then use cellular data to maintain the internet connection.

    On iPhone, this feature is called Wi-Fi Assist and is enabled by default. Apple explains that it can automatically switch to cellular data when the Wi-Fi connection is poor. It can be disabled under:

    Settings → Cellular/Mobile Data → Wi-Fi Assist

    On Android, manufacturers use names such as:

    Switch to mobile data automatically
    Intelligent Wi-Fi
    Adaptive connectivity
    Auto network switch

    Not every similarly named setting performs exactly the same function, so read the description shown on the device.

    This setting matters when you believe you are using free Wi-Fi while the phone is quietly supplementing it with roaming data.

    After connecting to public Wi-Fi, verify the active network icon instead of assuming the connection is carrying all traffic.

    9. Download essential content before departure

    Reducing background use is only half the plan. The other half is preparing the phone to work offline.

    Before leaving, download:

    • offline maps for the destination
    • airline boarding passes
    • hotel confirmation and address
    • train and bus tickets
    • travel-insurance details
    • passport and document copies stored securely
    • translation language packs
    • entertainment for the journey
    • emergency telephone numbers

    Save critical details in a form that does not depend on an email account refreshing correctly.

    A useful offline note should contain:

    Accommodation name and address
    Booking number
    Check-in instructions
    Flight or train details
    Travel insurer contact
    Card issuer emergency number
    Travel eSIM instructions
    Local emergency number

    Do not store unprotected card numbers, PINs or full identity-document details in an ordinary notes app.

    10. Do not turn off the wrong settings

    Some popular travel advice goes too far.

    Do not disable Find My or device-location security

    A lost phone abroad creates a larger problem than moderate data use. Keep device-finding and remote-lock features available.

    Do not assume GPS itself creates roaming charges

    Satellite positioning does not inherently require a mobile-data connection. However, map tiles, traffic information, search results and routing updates can use data. Downloading offline maps addresses the expensive part without disabling location services entirely.

    Do not disable security and authentication tools

    Banking verification, password managers and authenticator apps may be essential while traveling. Test them before departure, particularly if they depend on the home telephone number.

    Do not remove the home SIM without understanding the consequences

    You may need it to receive bank messages or account-verification codes. Keeping it active for SMS while disabling its data access may be more practical than removing it.

    Incoming SMS pricing and availability depend on the carrier and destination, so verify the tariff in advance.

    The Fintayo dual-SIM setup

    For a traveler using a data-only eSIM, a sensible configuration may look like this:

    SettingHome SIMTravel eSIM
    Line enabledYesYes
    Calls and SMSHome lineUsually unavailable/data only
    Mobile dataNoYes
    Data roamingOffAs instructed by provider
    Automatic data switchingOffOff
    Low Data Mode/Data SaverOn

    This arrangement keeps the home number available while directing internet traffic through the travel plan.

    However, phone models, carriers and travel eSIM products differ. Always follow the eSIM provider’s activation instructions, particularly regarding roaming and the access-point name, or APN.

    A five-minute preflight phone audit

    Complete this before leaving home Wi-Fi:

    1. Confirm the roaming tariff or activate the intended package.
    2. Install and test the travel eSIM.
    3. Select the correct mobile-data line.
    4. Turn off data roaming for the home SIM when it is not covered.
    5. Disable automatic cellular-data switching.
    6. Enable Low Data Mode or Data Saver.
    7. Restrict app updates to Wi-Fi.
    8. Restrict photo, video and cloud backups to Wi-Fi.
    9. Disable Wi-Fi Assist or similar cellular fallback.
    10. Download maps, bookings and essential travel documents.
    11. Reset the mobile-data statistics or note the current usage.
    12. Take screenshots of the final SIM configuration.

    Resetting the usage counter before departure gives you a simple way to see how much data the trip has consumed, although the carrier’s own records remain the basis for billing.

    Check the carrier app each day when using a capped or pay-as-you-go roaming package.

    The Fintayo takeaway

    Unexpected roaming bills rarely come from one dramatic action.

    They are often created by ordinary background activity:

    • a cloud photo upload
    • several app updates
    • a weak Wi-Fi connection
    • an automatic switch to the wrong SIM
    • a video that begins playing at full quality

    The best defense is not permanently disabling the smartphone.

    It is giving each connection a clear job:

    The home SIM keeps your number. The travel SIM carries the data. Background apps wait for Wi-Fi.

    Once that setup is correct, your phone can remain useful without being allowed to make expensive network decisions on its own.

    Important: Settings, menu names, roaming tariffs and eSIM requirements vary by phone, operating system, carrier and destination. Verify your provider’s current instructions before traveling.